There’s always a bit of unknown when purchasing a new-to-you used car, especially when you buy one for just $2,000 off of Facebook Marketplace. You know what you can see or touch in a shopping center parking lot, but you don’t really get the opportunity to dive deep into what you just spent your hard earned money on until you’re already committed. Did you pay too much, or did you get a good deal? Is this thing even safe to drive? Is it actually working as it should? What is the true condition of this car? These are all questions I ask myself immediately after purchasing a new project, and at least for me, what follows next is the same process for any used car purchase that enters my garage. It starts with a deep detail and inspection

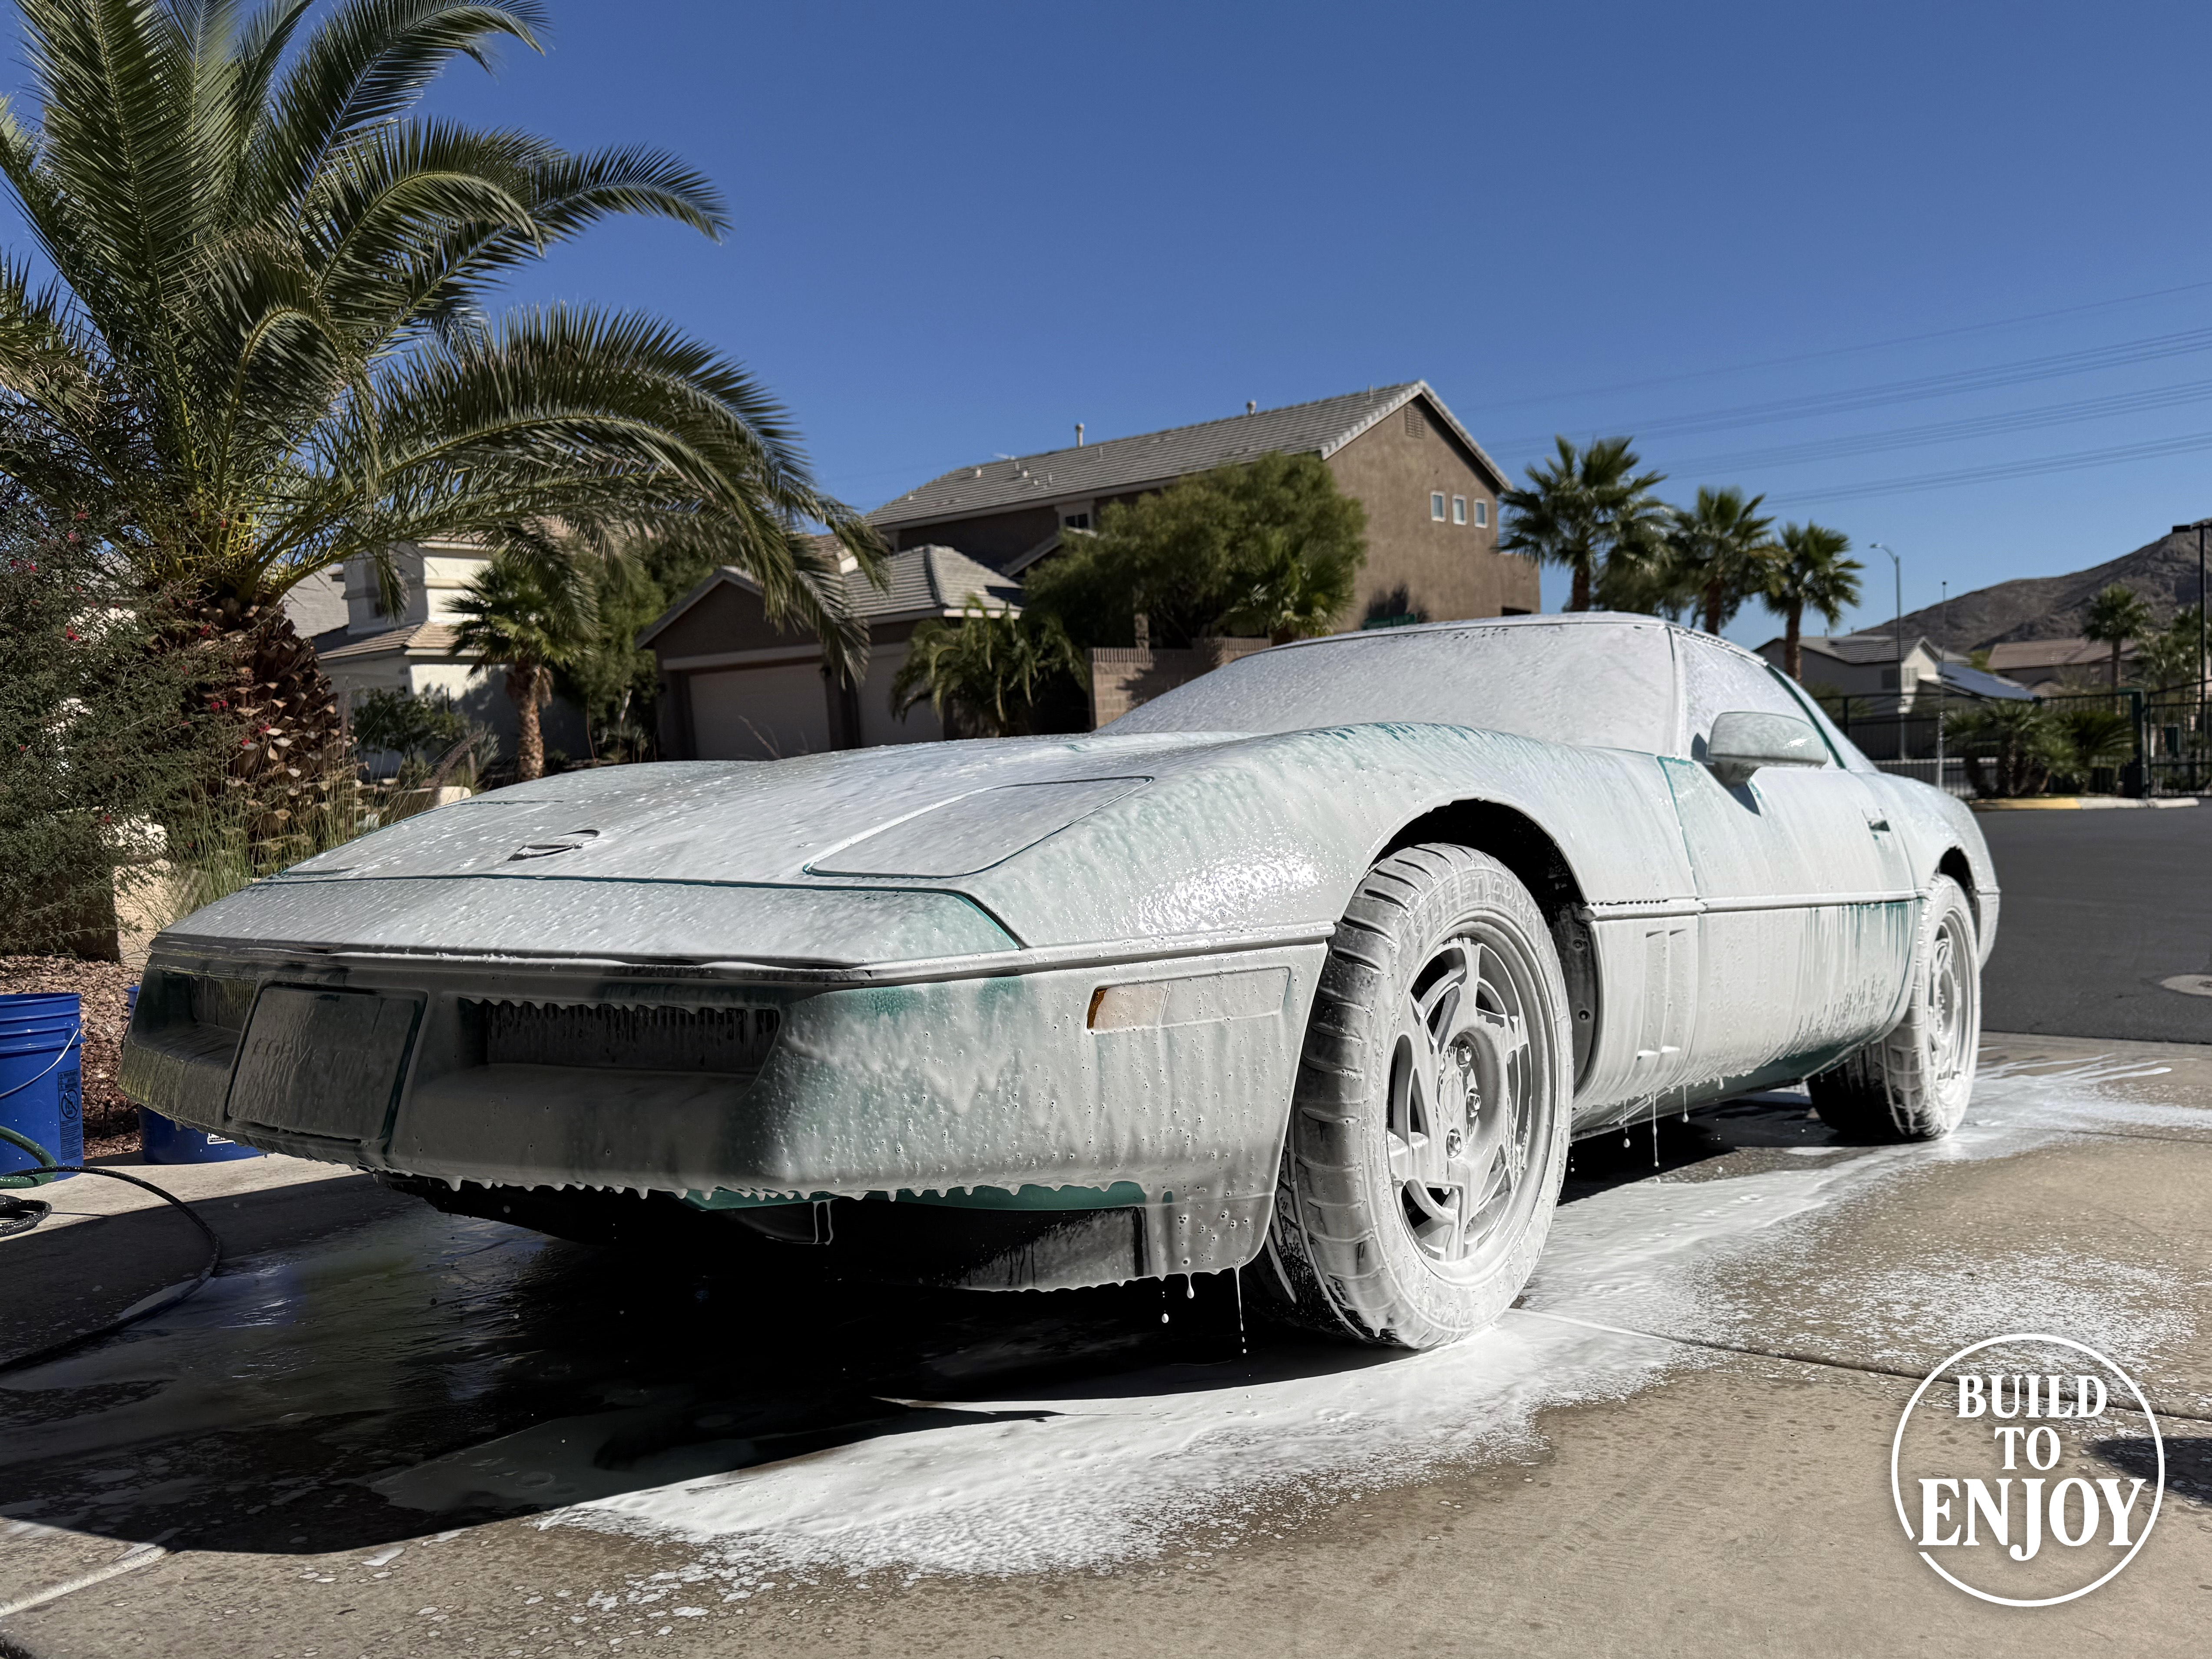
First things first, the car needs to be cleaned. It’s the first opportunity you have to really spend some time looking deeply at the car, and it’s usually pretty rewarding right out of the gate. For my C4 Corvette project, the seller didn’t do much cleaning aside from presumably running it through a local car wash tunnel. The interior was pretty filthy and littered with trash. The exterior wasn’t offensively dirty, but the 35 year old paint was quite hazy and rough to the touch. Oh, and there was rubber and paint marks down the entire passenger side of the car from light contact with another vehicle. All of this helped me drive the price down, but it was definitely still a risk. I am no professional detailer, but to me the damage on the side looked like it might come off without having to re-paint. The question was, what did the paint underneath look like? And was it going to need an expensive full re-paint, a cheaper, but still expensive single side paint and blend, or would detailing tricks do enough? Three possibilities that were going to cost me anywhere from $50 in detailing products to $6,000 if it has to be fully re-sprayed. Hence the risk.

I started this process with a basic exterior wash. Two buckets, a foam cannon, pressure washer, etc. Just to knock the big stuff off. Then I moved to the worst part of the vehicle, the interior, and for this I needed to go a bit deeper. I removed both seats to get full access and it was gross. I emptied the glove box, center console, rear storage cubbies, and of course, all of the trash. Sometimes this can be a fun and interesting process to see what you find that might tell a little bit of the prior owner’s history or perhaps some fun stuff from the past. In the case of my C4 Corvette, it wasn’t as exciting. The coolest thing I found was an unopened Metallica Death Magnetic CD from 2008.
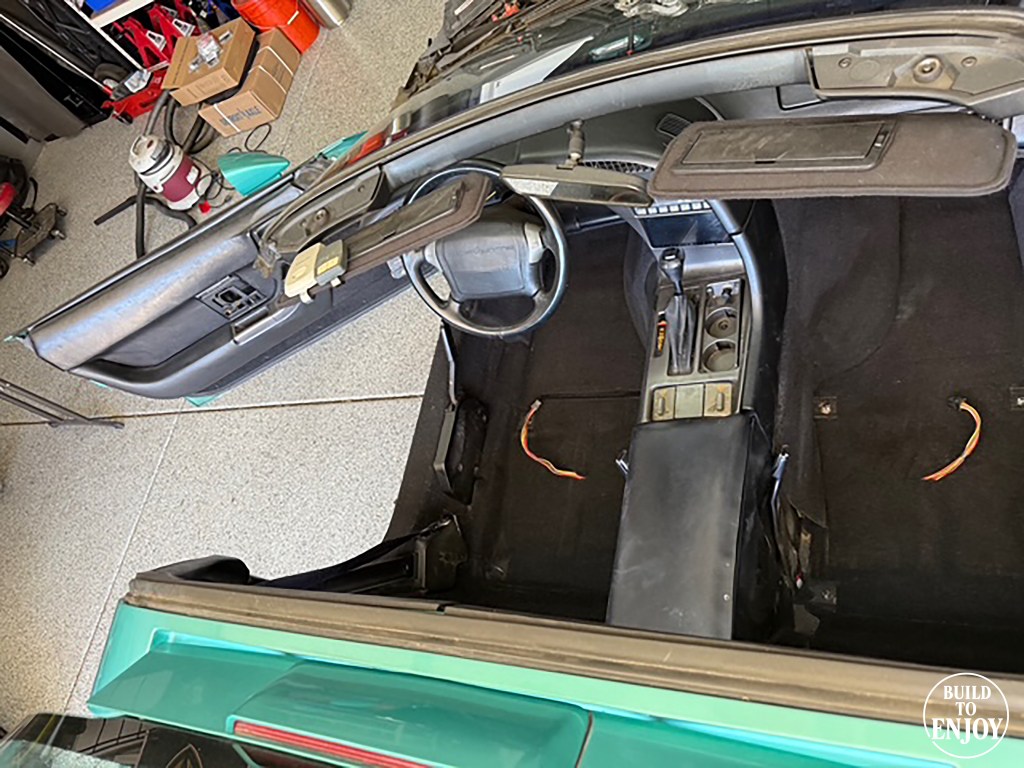
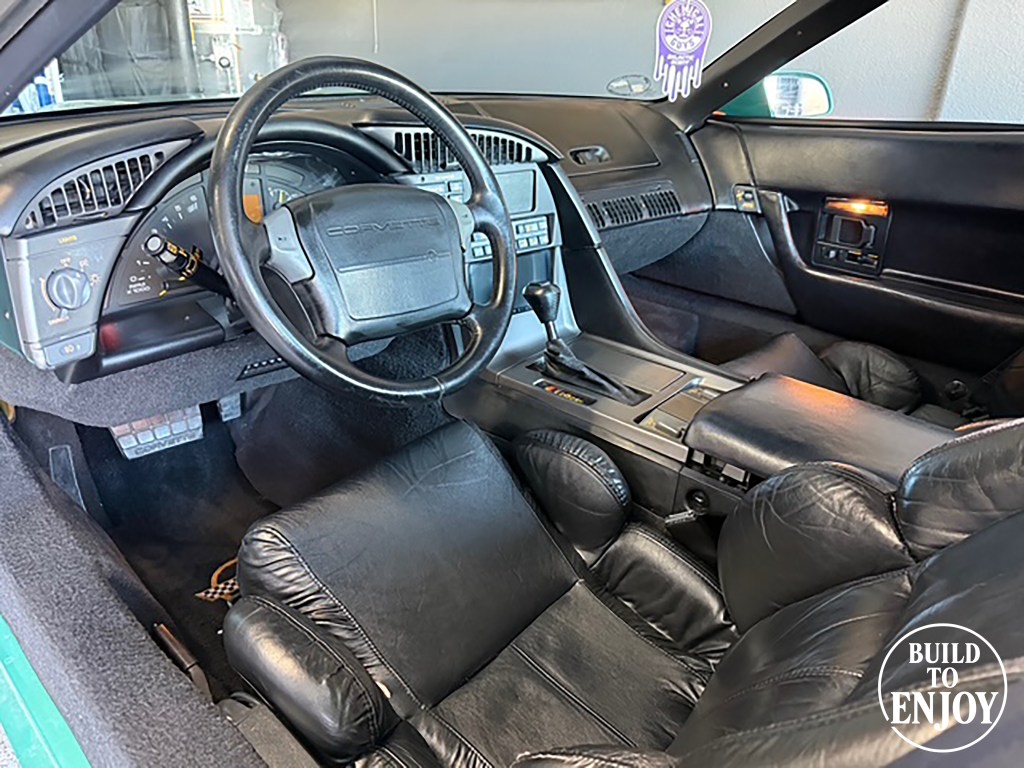
With all of the trash removed I started with a good vacuum. Then used compressed air to blow everything out of every crevice. Then another pass with the vacuum. And then it was time to get some work done to the carpets. The carpets received a shampoo, steam cleaning, and an extraction vacuuming to pull 35 years of drink spills and whatever horrible things came into them from the bottom of people’s shoes. As the carpets dried, I moved onto all of the plastics, door panels, dash, center console, etc. I hit them with an all purpose interior cleaner and a detailing brush. Some of the stickier areas with dried soda took a few passes. Then I tackled the seats and seat rails. Leather cleaner, then a heavy conditioner, all purpose cleaner for the plastics on the seat, and re-greased the seat rails before putting them back into the car. The final pass was to the inside glass all around.
After the interior I did a quick spot clean and de-grease under the hood. The engine bay on the C4 was actually fairly clean all things considered so it didn’t take much to get it to a point that was “as good as it’s going to get” without tearing parts out just to clean.
With the car now clean, the next order of business is a full deep dive inspection with the intent of creating a comprehensive list of everything that isn’t perfect on the car. To do this properly, you need to get it up on some jack stands, take the wheels off, and get it to a point where you can see as much of the suspension and drivetrain as possible. Test every button inside and out. Test the headlights, tail lights, turn signals, let the car run to operating temp and make sure the fans kick on. Check the oil, the transmission fluid, the brake fluid, etc. Anything you can. Once you have that list, now you can prioritize it, plan your budget, and get to work. The list for the C4 Corvette was long of course, but thankfully there was nothing really too major. We’ll get into the list in the next post. Once you have your marching orders, you can now order your first round of parts. And while you’re waiting for them…get back to some more detailing…
One of the cheapest and most satisfying things you can do to improve your new project car is detailing. Phase 1 for me is always a deep interior clean and then a basic clean on the exterior and under the hood. Phase 2 is to go back and see just how good I can make the paint look. In the case of my C4 Corvette the first thing to tackle was that passenger side damage. It was time to see what, if anything, was going to get that paint and rubber off, and more importantly, what was underneath. For me, it was a combo of Goof Off adhesive remover and an eraser wheel on the end of a drill that did the trick. The rubber and paint transfer marks came out relatively easily and that was already a big improvement, but the paint, and the damaged areas were still quite hazy.

Next step was a light paint correction. As mentioned, I am not a professional detailer and I don’t have much experience, and zero training, doing my own paint corrections so I opted to keep it safe and not use a full cutting compound. Instead, I started with a full-car clay bar to get surface contaminates off and that didn’t improve the look much, but man did the paint feel a lot softer and smoother to the touch. Then it was on to the moment of truth, a cleaner wax that I would use with my random orbital buffer. The cleaner wax isn’t too aggressive but it should take care of the paint haze without much risk of burning through the clear coat or doing any paint damage. The trade-off is that if there are any deeper scratches or swirl marks, it won’t be aggressive enough to take care of those. So I masked off all of the trim and got to work.
The cleaner wax worked pretty well. The paint isn’t perfect, but the haze was gone and most importantly, the passenger side of the car looked in as good a condition as the rest of the car! The decision could now be made that I would not need any paint work! Big win for the budget.

I finished the exterior with a carnuba top coat wax, some trim restorer on the black trim and exterior plastics, a good polish on the wheels, and some tire shine. Quite frankly, the car looks quite good. I won’t say great, I definitely wont say perfect, but it is on the good side of what you might expect from a 35 year old car with 100,000 miles on it. There are some imperfections in the fiberglass body parts and some deeper scratches and swirl marks that the cleaner wax didn’t get down to, but overall it looks fantastic in photos and in person as well. The rare, and totally rad Turquoise Metallic paint really pops now and one day, after enjoying the car for a bit, it might get the more aggressive deep paint correction it deserves.
Already, just by spending less than $100 on detailing products (granted some I already had, as well as some tools I already had), and some sweat equity, I have dramatically upped the value of this car on a re-sale. It is one of the best things you can do if you are trying to sell a car because it is all about public perception of value. It didn’t actually add any value in terms of making the car drive better, work better, or adding any new or expensive parts. What it did do, was show the true quality potential of the car. In the case of this C4 Corvette, just fixing the accident damage potentially added thousands of dollars to the re-sale value as it ended up not really being damage at all. It quite literally, buffed out, and there was no damage to the paint or structure underneath.
At this point, I am still just $2,100 into this entire project, yet now, I would venture to guess I could re-sell for probably $6,000-$7,000. I was able to buy it well because the seller didn’t put any sweat equity into making it look as good as it possibly could. Instead, it was presented to me, and other potential buyers, littered with trash, hazy paint, and tire marks all down one side. All of that was fixed in a weekend’s worth of work with $100 and some YouTube tutorials.
Now it’s on to getting the C4 working properly, and that’s exactly what we’ll get into in the next post.

Leave a comment